SHED PLANNING · BEFORE THE FIRST DELIVERY
Good shed site preparation starts before gravel, concrete or timber arrives. Confirm the location, understand where water goes, agree the foundation detail and make sure materials can reach the building area.
1. Make a location sketch before ordering
Draw the shed, property boundaries, nearby buildings, gates, trees and existing paths. Add the entrance direction and roof overhangs. Keep the drawing simple enough to discuss with your plan provider, contractor and local building office.
Ask which requirements apply to the specific size and use you propose: permitted location, setbacks, height, foundations, anchoring, approvals and any required inspections. Check association rules where relevant. Rules vary, so avoid choosing a location from a generic setback number found online. Tuff Shed’s pre-installation guide also directs buyers to confirm local requirements and coordinate the base with the building.
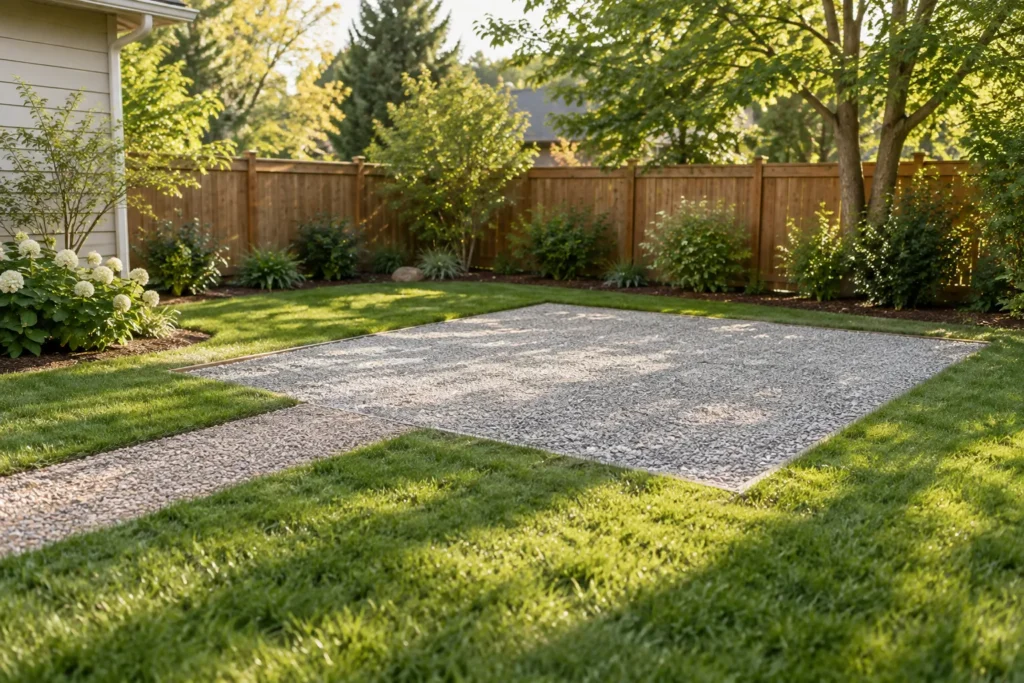
Use temporary surface markers to picture the footprint. Leave space to open doors, maintain the walls and move around the building. A building that fits between two fences on paper may leave an impractical entrance or inaccessible siding.
2. Observe the site after rain
Visit after ordinary rainfall and photograph the proposed corners. Note standing water, soft patches and the direction water travels across the yard. Also look at nearby roof outlets and irrigation. A dry surface on one sunny afternoon does not describe the site’s behaviour through the year.
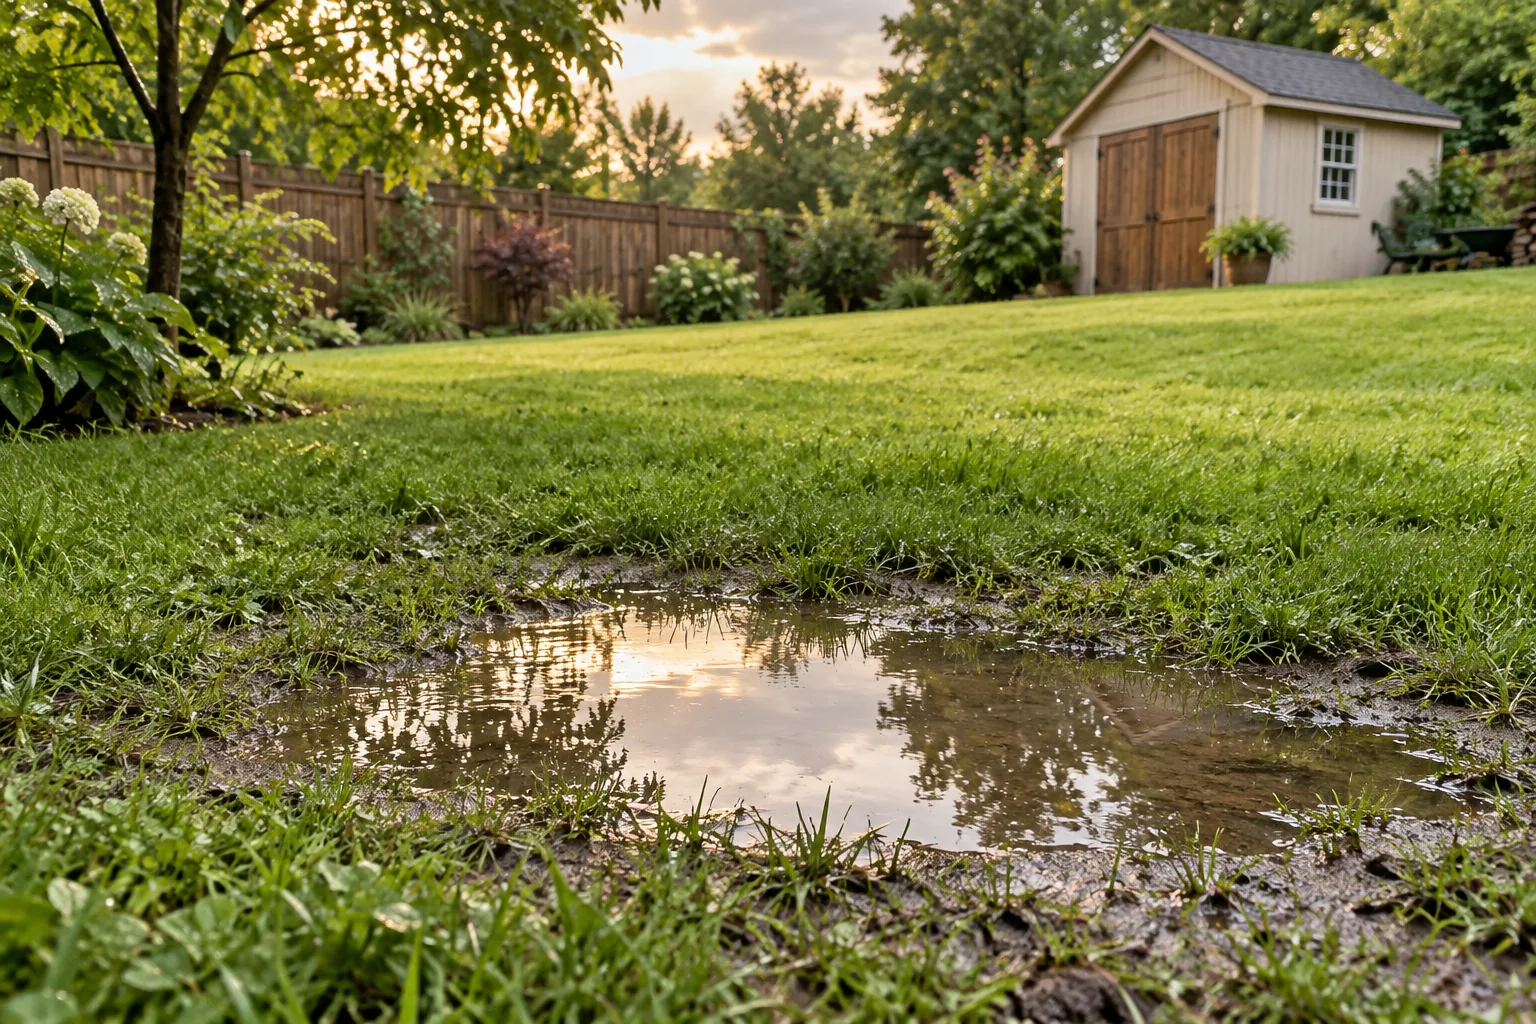
Record observations rather than guessing a fix: “water collects at the rear-left corner” is more useful to a contractor than “add extra gravel.” A granular surface alone is not proof that the underlying ground drains well. Persistent wetness, substantial slopes or uncertain ground conditions deserve a site-specific assessment before a foundation is selected.
Keep the structural support surface and the surrounding drainage design as separate questions. The shed needs the support required by its plan; runoff also needs an appropriate route that does not undermine it or create problems for neighbouring property. Ask the person designing the site work to explain both.
3. Check access from the street to the footprint
Measure the narrowest gate opening, any overhead restriction and the tightest turn. Note steps, slopes, soft lawn and fragile paving. Share these details with the installer or supplier before booking delivery. Required clearance depends on whether the building arrives assembled, in panels or as individual materials.
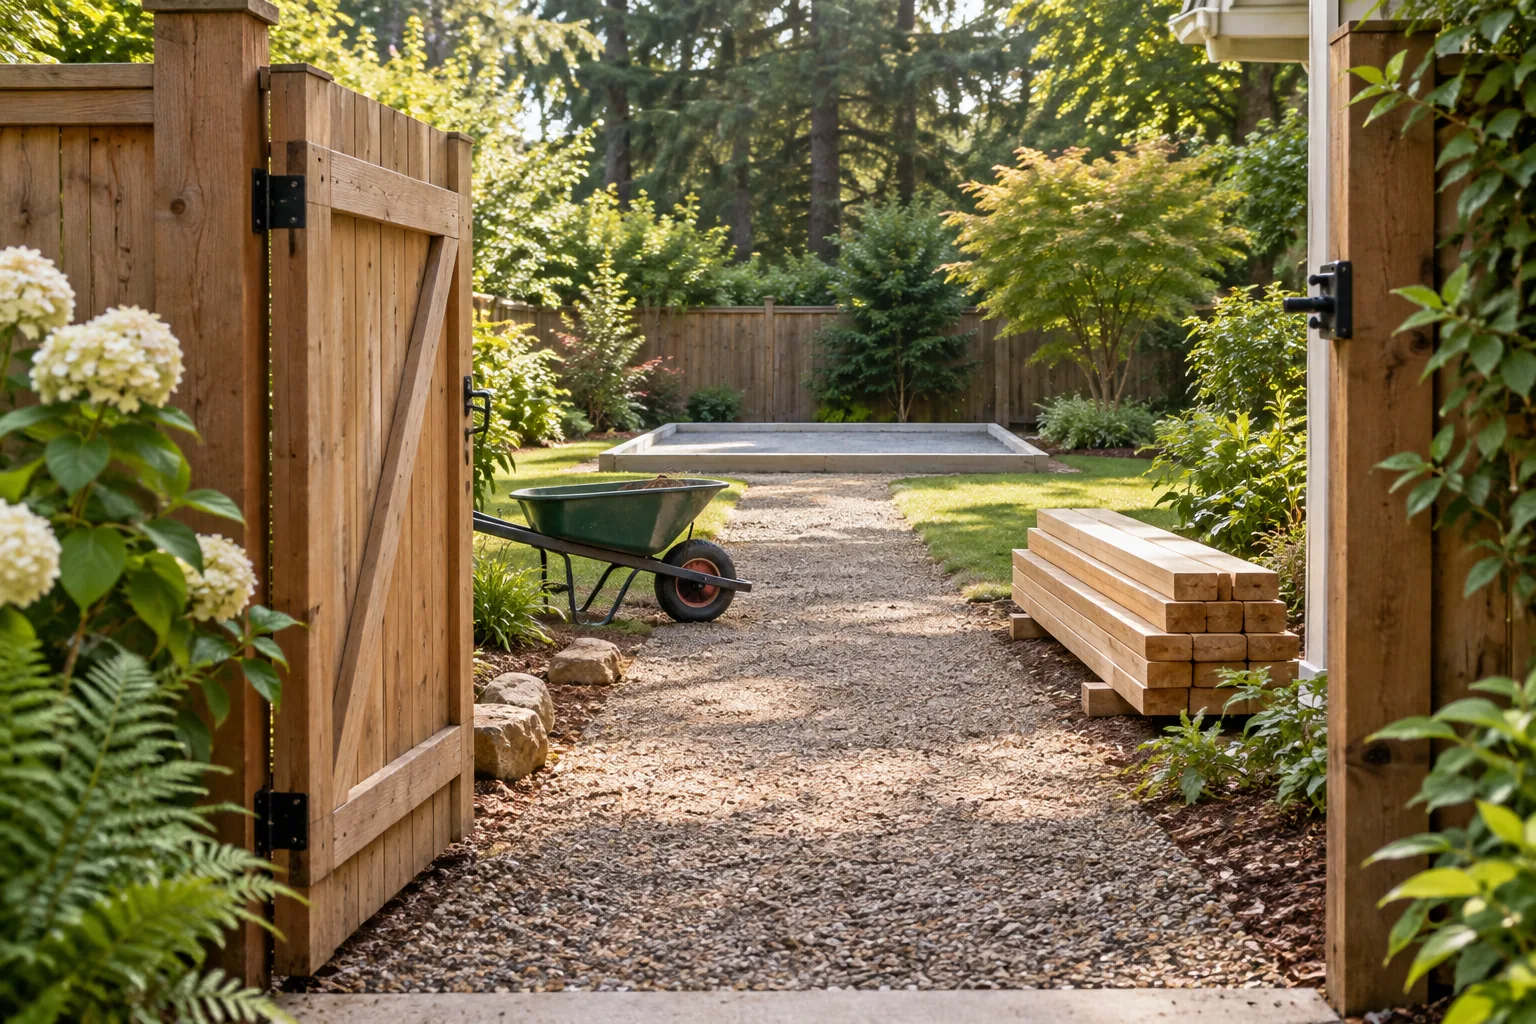
Walk the route with the wheelbarrow you expect to use. Identify a dry material-staging area that does not block the house, access path or future doorway. Decide where packaging and excavated material will go. These small decisions help keep the work area usable.
Arrange utility locating before ground disturbance
In the United States, contact 811 before digging and follow your state’s notice period, marking and safe-digging process. Outside the US, use the local utility-location service. Locate privately owned services too; do not assume public utility marking covers irrigation, private power lines or septic components. Stakes, anchors and foundation excavation all need consideration.
4. Match the foundation to the actual shed plan
Choose the support system with the building design, ground conditions, intended loads and local requirements in view. A timber-floor shed and a building designed to sit directly on a slab may need different details. Do not pour a slab from the advertised footprint alone or copy a gravel depth from an unrelated project.
| Possible approach | What must be confirmed |
|---|---|
| Prepared granular base | Compatibility with the floor/support system, ground preparation, material, depth, compaction, drainage and anchoring |
| Concrete slab | Exact dimensions and levels, reinforcement and thickness, edge details, moisture control, loads and anchor positions |
| Designed piers or footings | Soil bearing, frost requirements where applicable, support locations, connections and loads |
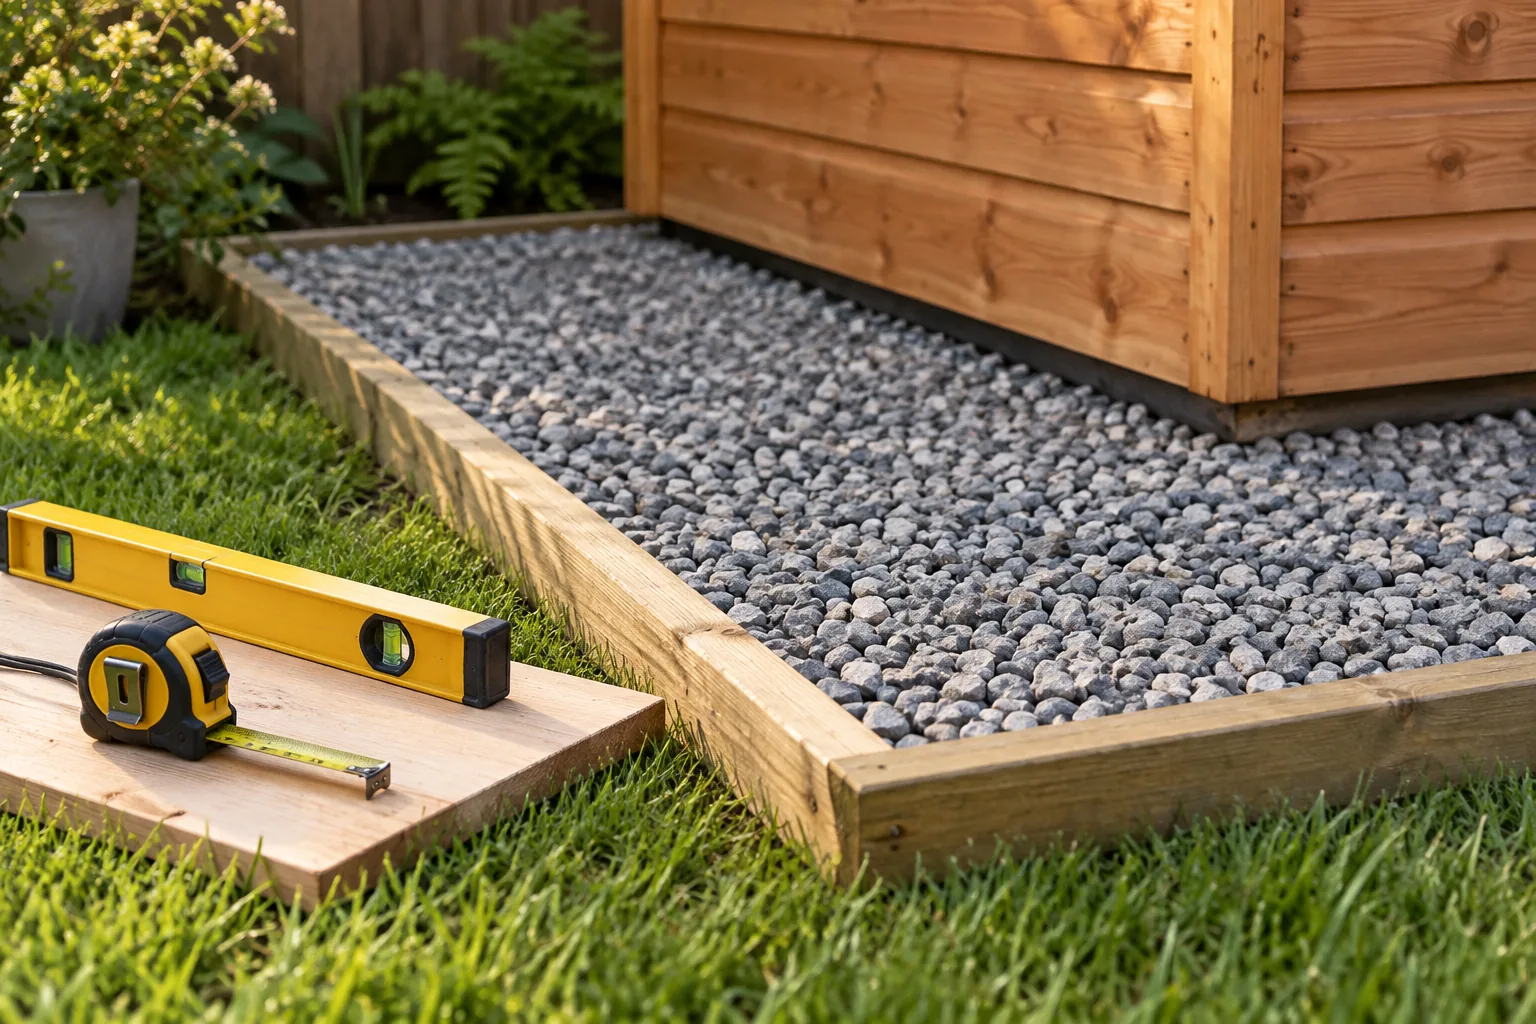
Get the agreed detail in writing before buying materials. A drawing should make it clear which dimensions refer to the building, the structural foundation and any surrounding apron. They are not necessarily identical. The foundation discussion in Site Prep’s shed foundation guide is useful background on why the floor system and foundation choice are connected; use your own project’s approved detail for construction.
Build a complete site-work allowance
Request a breakdown for clearing, disposal, ground preparation, foundation materials, labour, equipment access, drainage work and any required inspections. Ask what is excluded and what happens if unsuitable ground is uncovered. Comparable scopes are more useful than comparing two unexplained totals.
5. Verify the prepared site before the shed arrives
Check the foundation against the agreed drawing. Record both side dimensions, the two diagonals and the specified levels. For a rectangular layout, equal diagonals are a useful check alongside correct side lengths; they are not a substitute for checking the full shape and measurements.
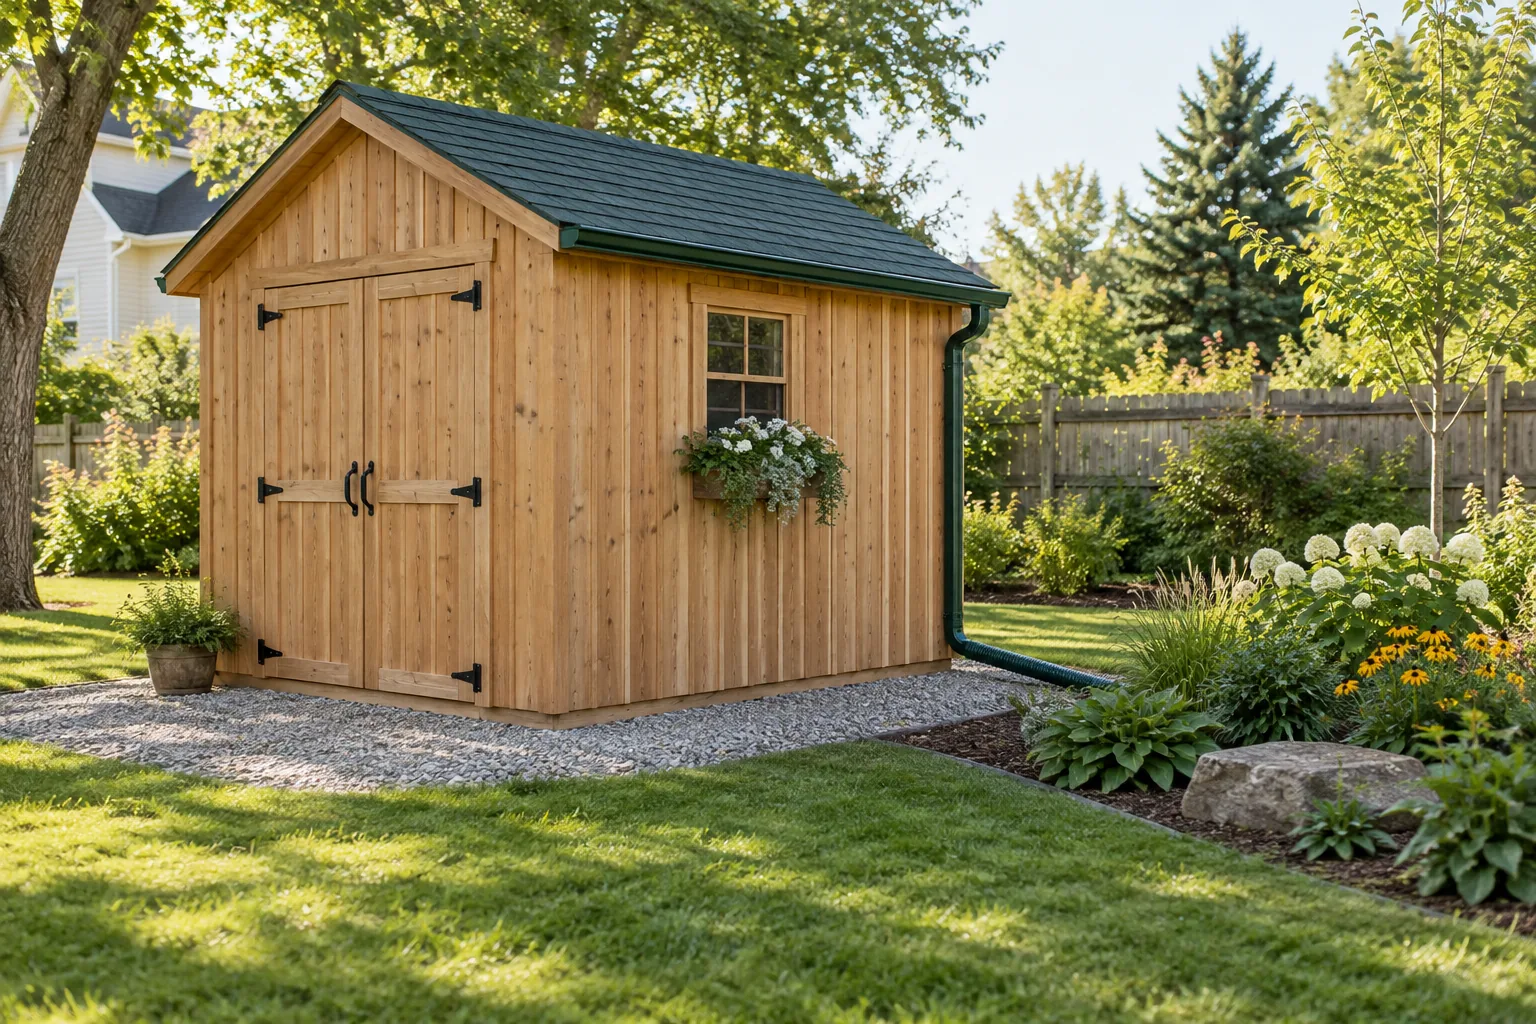
Confirm where the doors, ramps and downspouts will land. A level pad does not solve an entrance that is blocked or a roof outlet that discharges into the access path. Keep dated photos of the site and the measurements with your project notes.
- The chosen shed size and use match the site brief.
- Local placement, approval and inspection requirements are resolved.
- Underground utilities and private services have been addressed before digging.
- Drainage observations have informed the site design.
- The foundation matches the agreed building and support details.
- Dimensions, diagonals, levels and anchor locations have been checked as specified.
- Access, staging space, door movement and roof-water discharge are planned.
- The supplier or builder has received the site information they requested.
Shed site preparation questions
Can I put a shed straight on grass?
Do not assume that is suitable for your shed. Follow its specified support and ground-preparation details, accounting for the soil, moisture and local requirements. Instructions for a different manufacturer’s floor system may not apply.
Is gravel always better than concrete?
No. The appropriate foundation depends on the building, floor system, intended loads, site conditions and local requirements. Select the foundation as part of the project design.
Should the base be larger than the shed?
It depends on the detail. A surrounding gravel apron and a structural slab serve different purposes. Confirm the exact foundation dimensions and any required perimeter extension with the plan provider before work begins.
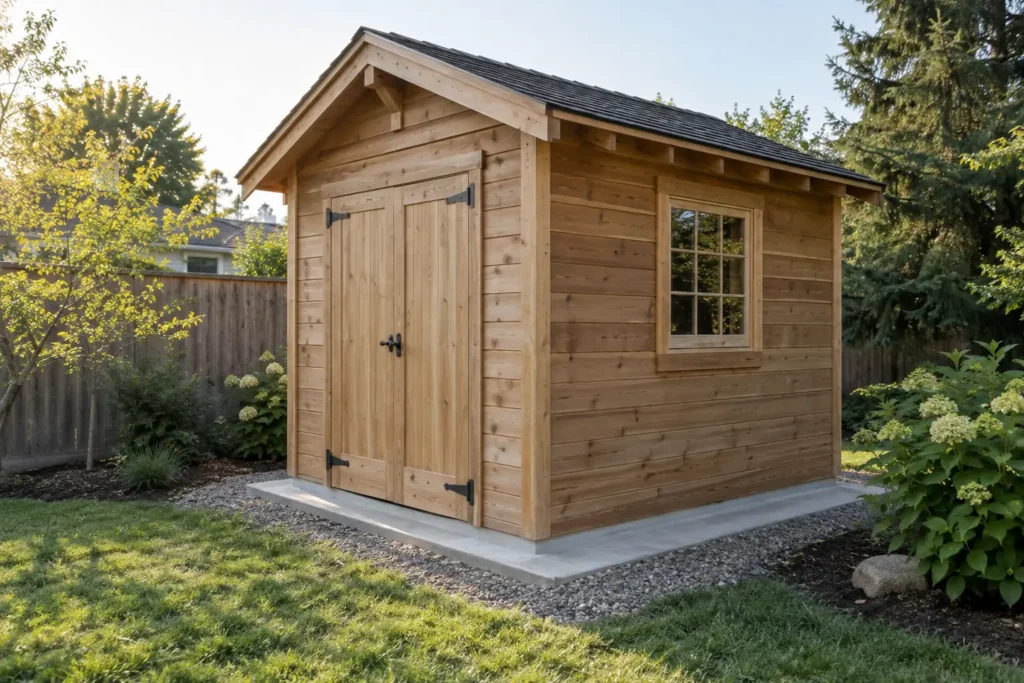
Images: original AI-generated DIYLABO concept illustrations. They do not specify foundation depth, reinforcement, grading, anchoring or other construction details.
Keep exploring. Your next project starts with a good question.
More DIY Guides