SHED PLANNING · A PRACTICAL START
The best shed size is the one that holds your equipment and still lets you reach it. Before choosing between an 8×10, 10×12 or 12×16 shed, map the things you own, test the doorway and leave room to move.
1. Measure what you actually need to store
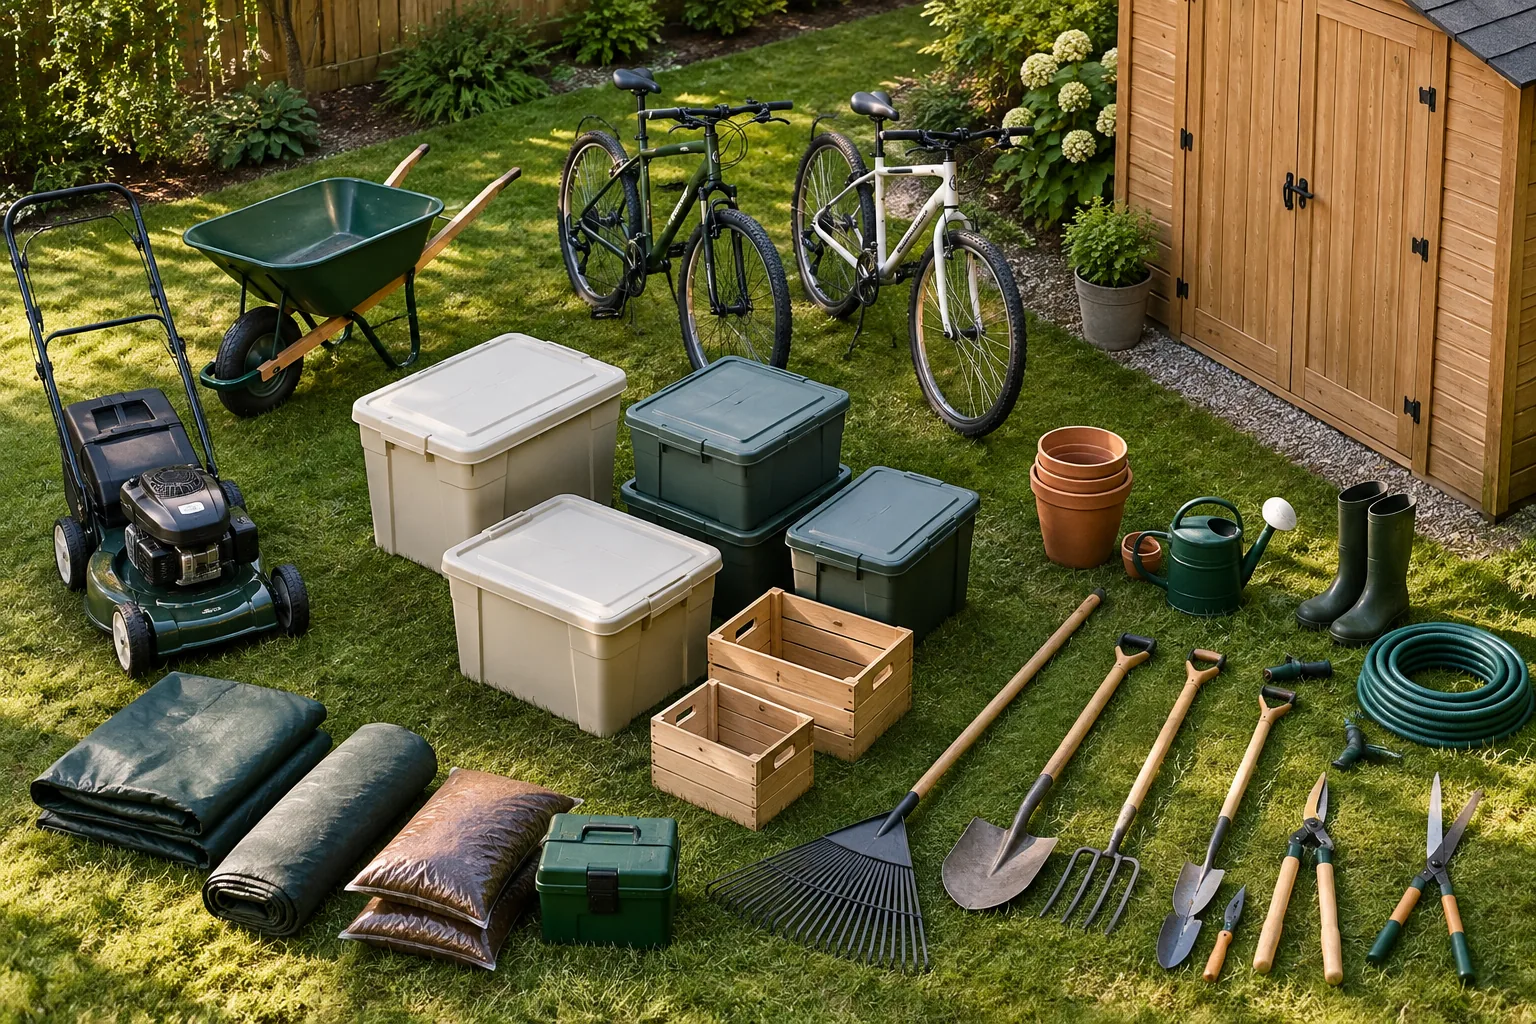
Take a tape measure, a notebook and your largest items outside. Record each item’s width, length and height in its normal storage position. Include mower handles, bicycle handlebars and the wheelbarrow’s handles; measuring only the wheels makes a misleadingly small rectangle.
Sort the inventory into three groups: things you roll in and out, things that can sit on shelves, and things you need frequently. Put the frequently used items near the entrance in your sketch. Seasonal decorations can sit farther back, but should remain reachable without emptying the shed.
| Item or group | What to measure | Extra space to test |
|---|---|---|
| Mower or wheelbarrow | Full length, widest point and height | Rolling path and room to turn |
| Bicycles | Overall length and handlebar width | Room to lift or roll each bike out |
| Storage boxes | Box depth, width and stacked height | Shelf depth and hand clearance |
| Workbench | Bench footprint and working height | Standing space and the length of your workpieces |
| Garden tools | Longest handle and widest head | Wall space away from the doorway |
Add a short “next two years” list. Be specific: one additional bicycle is useful to plan for; an undefined idea of future storage is harder to budget. Do not assume a loft can hold heavy items. Check the plan’s stated loading and safe access before counting elevated storage.
2. Compare common shed footprints
These figures are simple width × length calculations. The metric areas are rounded. The examples are starting points for a layout test, not promises that every item will fit or that DIYLABO currently sells each size.
| Nominal size | Footprint area | Layout to investigate |
|---|---|---|
| 8×10 ft | 80 sq ft / 7.4 m² | Compact garden storage with wall shelving |
| 10×12 ft | 120 sq ft / 11.1 m² | Garden equipment plus separate box storage |
| 12×16 ft | 192 sq ft / 17.8 m² | Several storage zones with a small work area |
| 12×20 ft | 240 sq ft / 22.3 m² | Larger equipment storage or a more generous work zone |
A 12×16 footprint has 72 square feet more area than a 10×12 footprint: 192 − 120 = 72. That is 60% more footprint area, but it does not tell you the cost difference or the amount of clear floor space. Wall thickness, door position and internal obstructions still matter.
3. Draw the shelves and access aisle before choosing
Use graph paper with one square representing one foot, or another scale that suits your measurements. Draw the clear internal dimensions from the proposed plan, then add rectangles for your equipment. Use the same scale for every object.
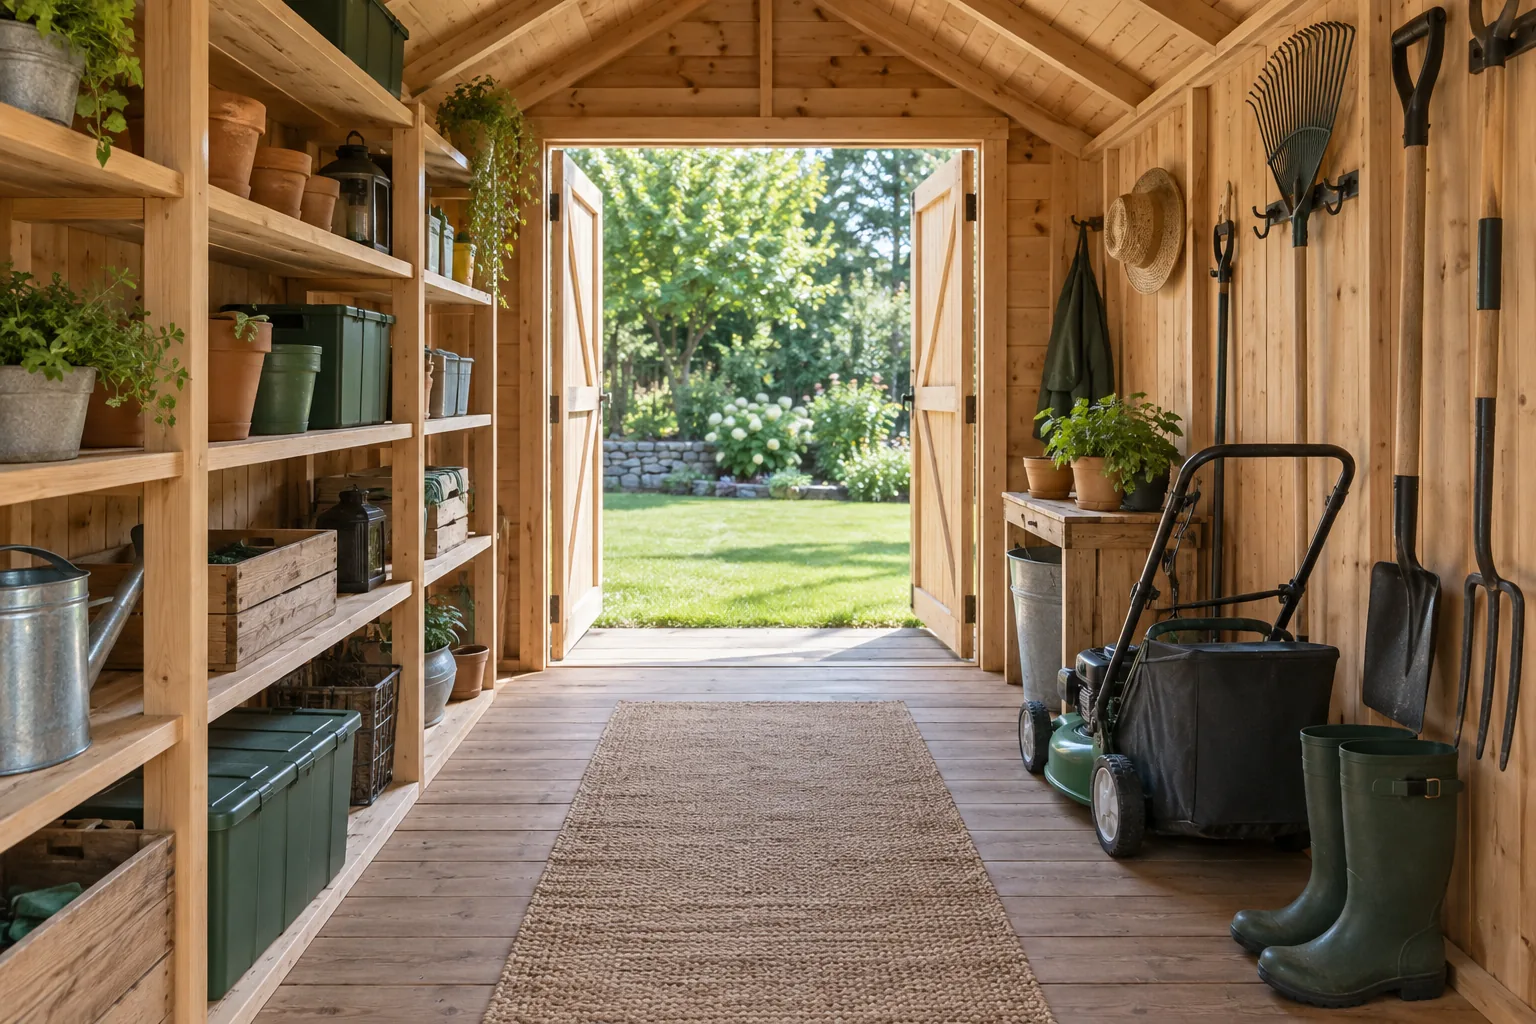
Next, draw shelf depth and the route from the doorway to each item. For a simple illustration, if the clear interior width is 10 feet and shelving takes 2 feet along both sides, 6 feet remains between the shelves. That remaining strip must accommodate any floor-stored equipment as well as your movement; it is not all spare storage.
Try three everyday actions on the sketch: remove the mower, reach the back shelf and carry a long-handled tool outside. If each action requires moving several other items, change the arrangement or test a larger plan. Tuff Shed’s pre-purchase guide similarly recommends considering your contents, site limits and the ability to move items in and out.
4. Check the doorway and the space around the shed
Compare the largest item with the door’s clear opening, not just the nominal door size. Check height as well as width. A double door may help with wide equipment, but both leaves need room to open and the approach must allow you to line up the item.
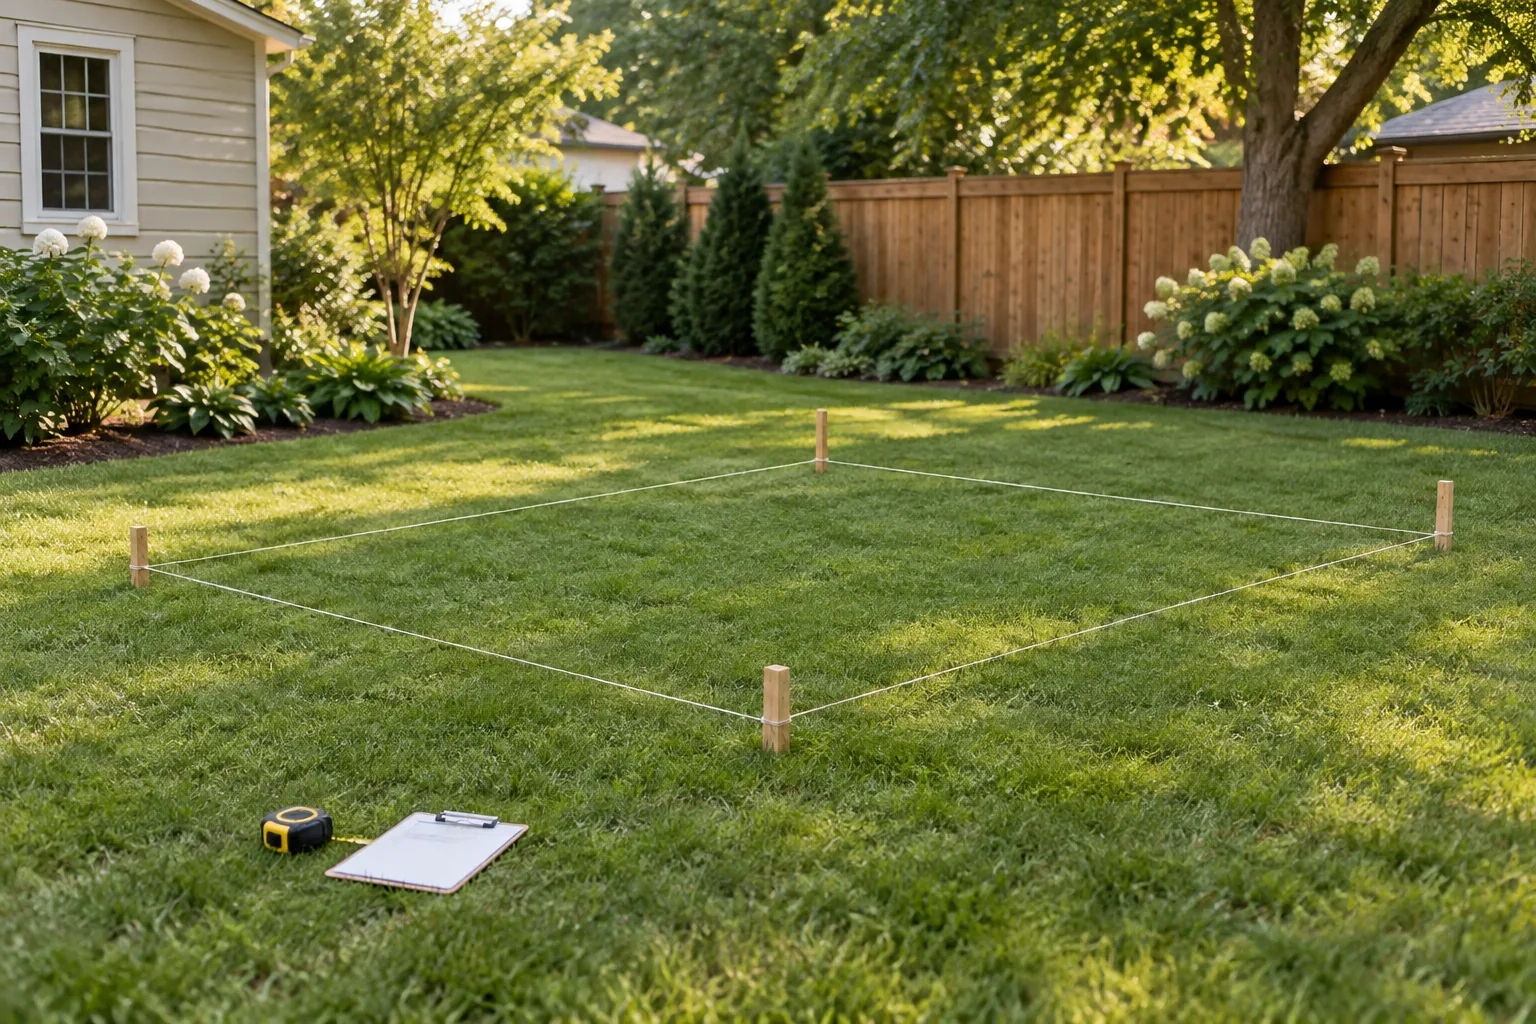
Lay a tape measure on the ground to represent the opening, then roll your equipment through the imaginary doorway. Use movable cones or other surface markers to outline the building before placing stakes. Walk the route from the gate to the future door and think about carrying materials during construction.
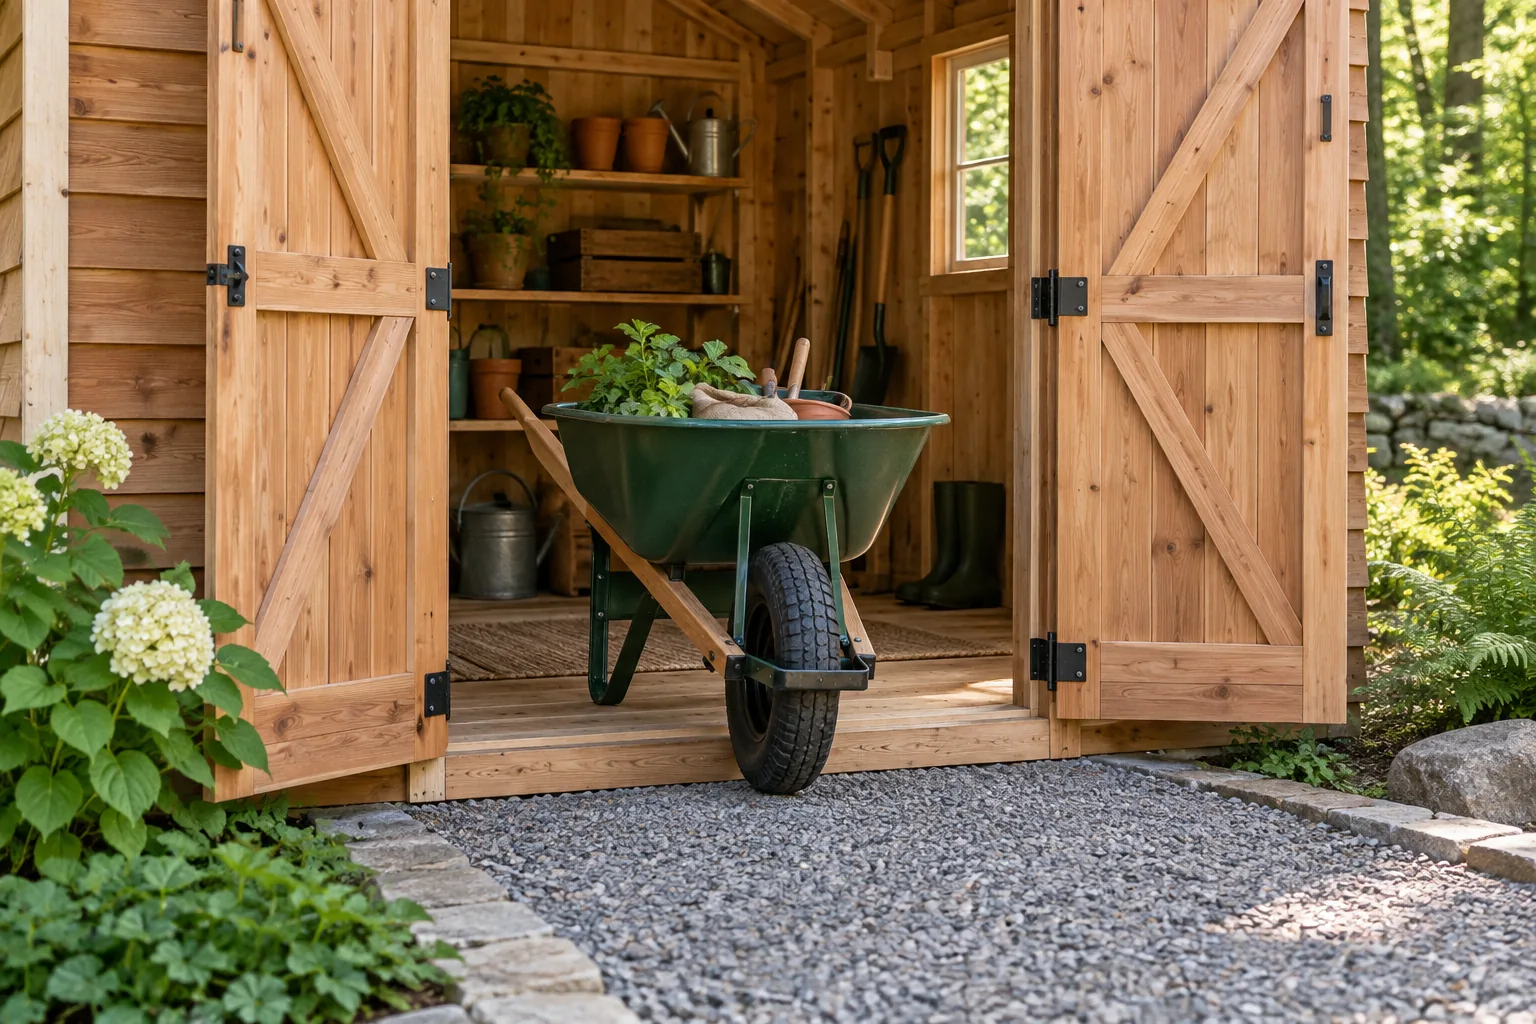
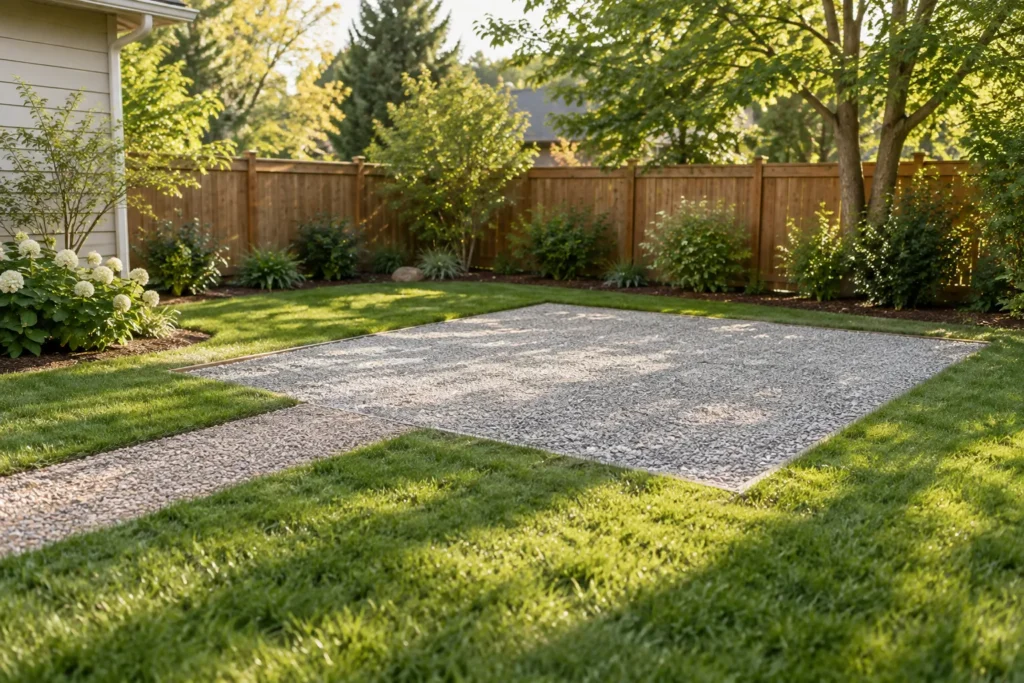
Before finalising the position, confirm local limits on size, height, setbacks and permitted use, plus any association rules. These vary by location; a commonly quoted “permit-free” size is not a universal rule. Check the approved drawing for roof overhangs, door swing and maintenance access. Our shed site preparation checklist helps you turn those decisions into a site brief.
5. Your shed-size decision checklist
- I measured my largest equipment in its real storage position.
- I compared clear inside dimensions, not just advertised footprint.
- My drawing includes shelf depth, door movement and a usable access route.
- I tested how the largest item enters and turns.
- I checked the yard, roof overhangs, local requirements and delivery access.
- I allowed for specific future items and checked any loft or floor loading.
- I compared the complete project scope, including site work and foundation.
Questions people ask about shed size
Is a 10×12 shed big enough for a mower and bikes?
It may be, but mower size, bicycle arrangement, shelving and door placement decide whether the layout works. Draw your actual equipment at scale and test the route to the entrance before buying.
Should I choose a 12×16 or 12×20 shed?
The 12×20 footprint adds 48 square feet, or 25%, compared with 12×16. Test whether that extra length solves a real layout problem, then check the site, requirements and full project cost.
Can I use a storage shed as a workshop?
Include space to work and move materials, not just store a bench. Confirm that the proposed use, floor loading, ventilation and any electrical installation are suitable with the plan provider and relevant local professionals.
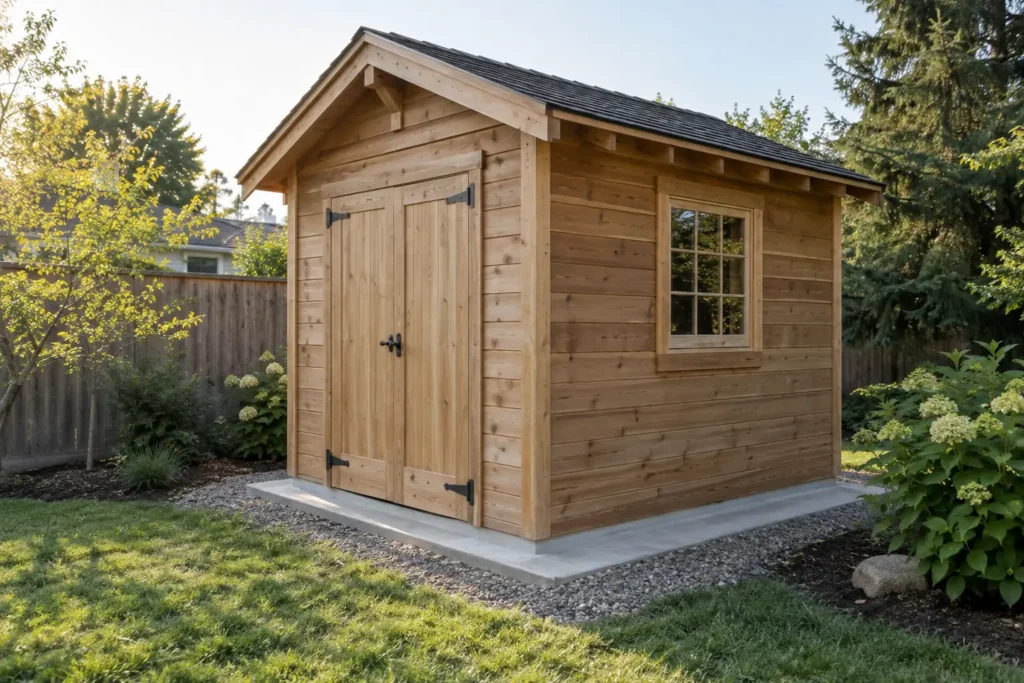
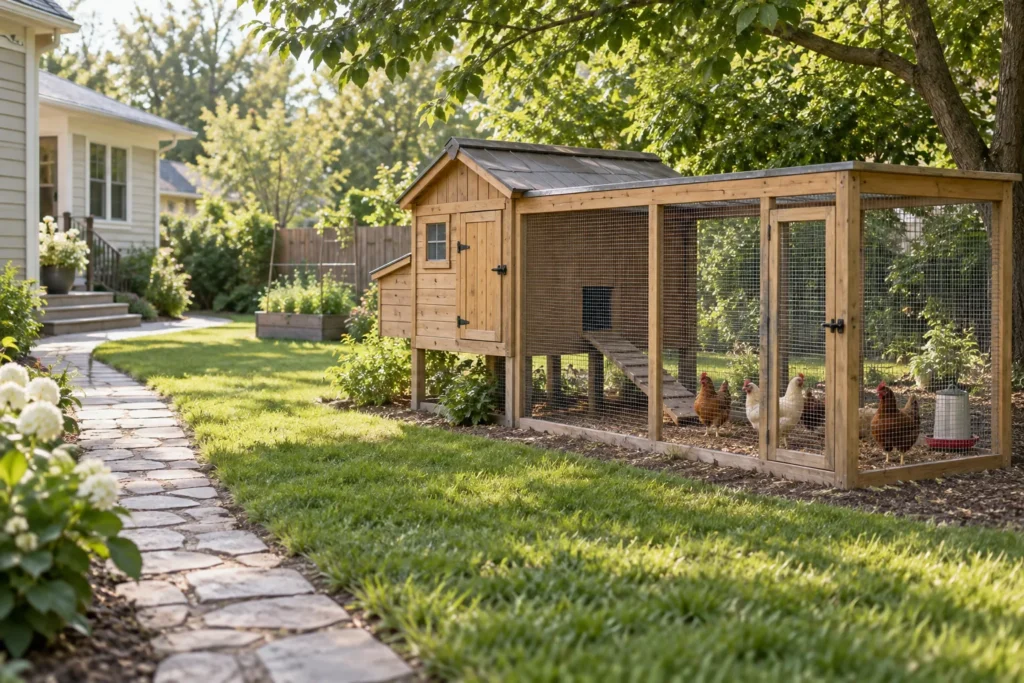
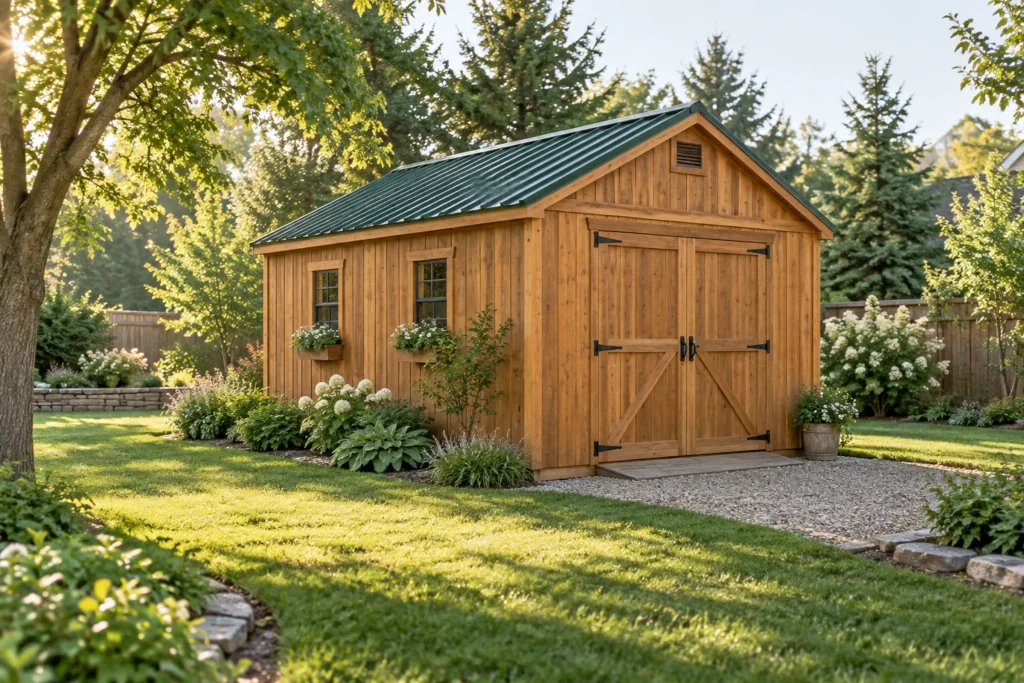
Images: original AI-generated DIYLABO concept illustrations. They show planning ideas, not measured construction drawings or completed customer projects.
Keep exploring. Your next project starts with a good question.
More DIY Guides